
English version below!
Wanddekoration – DIY mit Tape
Hi ihr Lieben,
Lange nicht gesehen… Ich muss wirklich anfangen regelmäßiger zu schreiben! Ich arbeite daran, ich versprech’s!
Nach zweimonatiger Wartezeit sind wir nun endlich in unser neues Apartment in Edmonton eingezogen. Das warten hat sich allerdings gelohnt. Schau dir die Aussicht an! Okay, das ist jetzt vom Dach (20. Stock), aber die Aussicht aus dem 14. Stockwerk ist auch nicht schlecht.

Bevor wir überhaupt in die Wohnung eingezogen sind, hat mir mein Freund offenbart dass ich für die Seele der Wohnung zuständig bin, sprich, dekorieren. Nach vielen Stunden Pinterest und mehrere Blogs später hab ich beschlossen wir machen etwas mit Washitape, auch Maskingtape genannt, für die die davon noch nie etwas gehört haben, können hier nachlesen was es genau ist. Wenn man auf Pinterest „washi“ „wall“ und „art“ eingibt kommen auch schon viele viele Vorschläge, was man mit seinen Wänden und Tape alles anstellen kann.
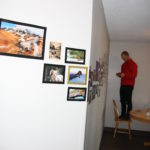
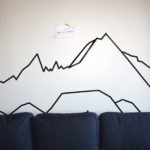
Dann ging es nur noch um die Frage was machen wir. Es gibt tausende Möglichkeiten. Da mein Freund ein totaler Bergfanatiker ist und ich auch schon dazu mutiert bin UND wir natürlich auch ein Stück Heimat in der Wohnung haben wollten, haben wir uns für einen Berg als Motiv entschieden. Wir haben uns für den Watzmann entschieden. Toller Berg, anstrengender Berg. Ich war da schon am Gipfel oben! Hier schon mal ein eine kleine Vorschau wie das ganze am Ende aussieht:

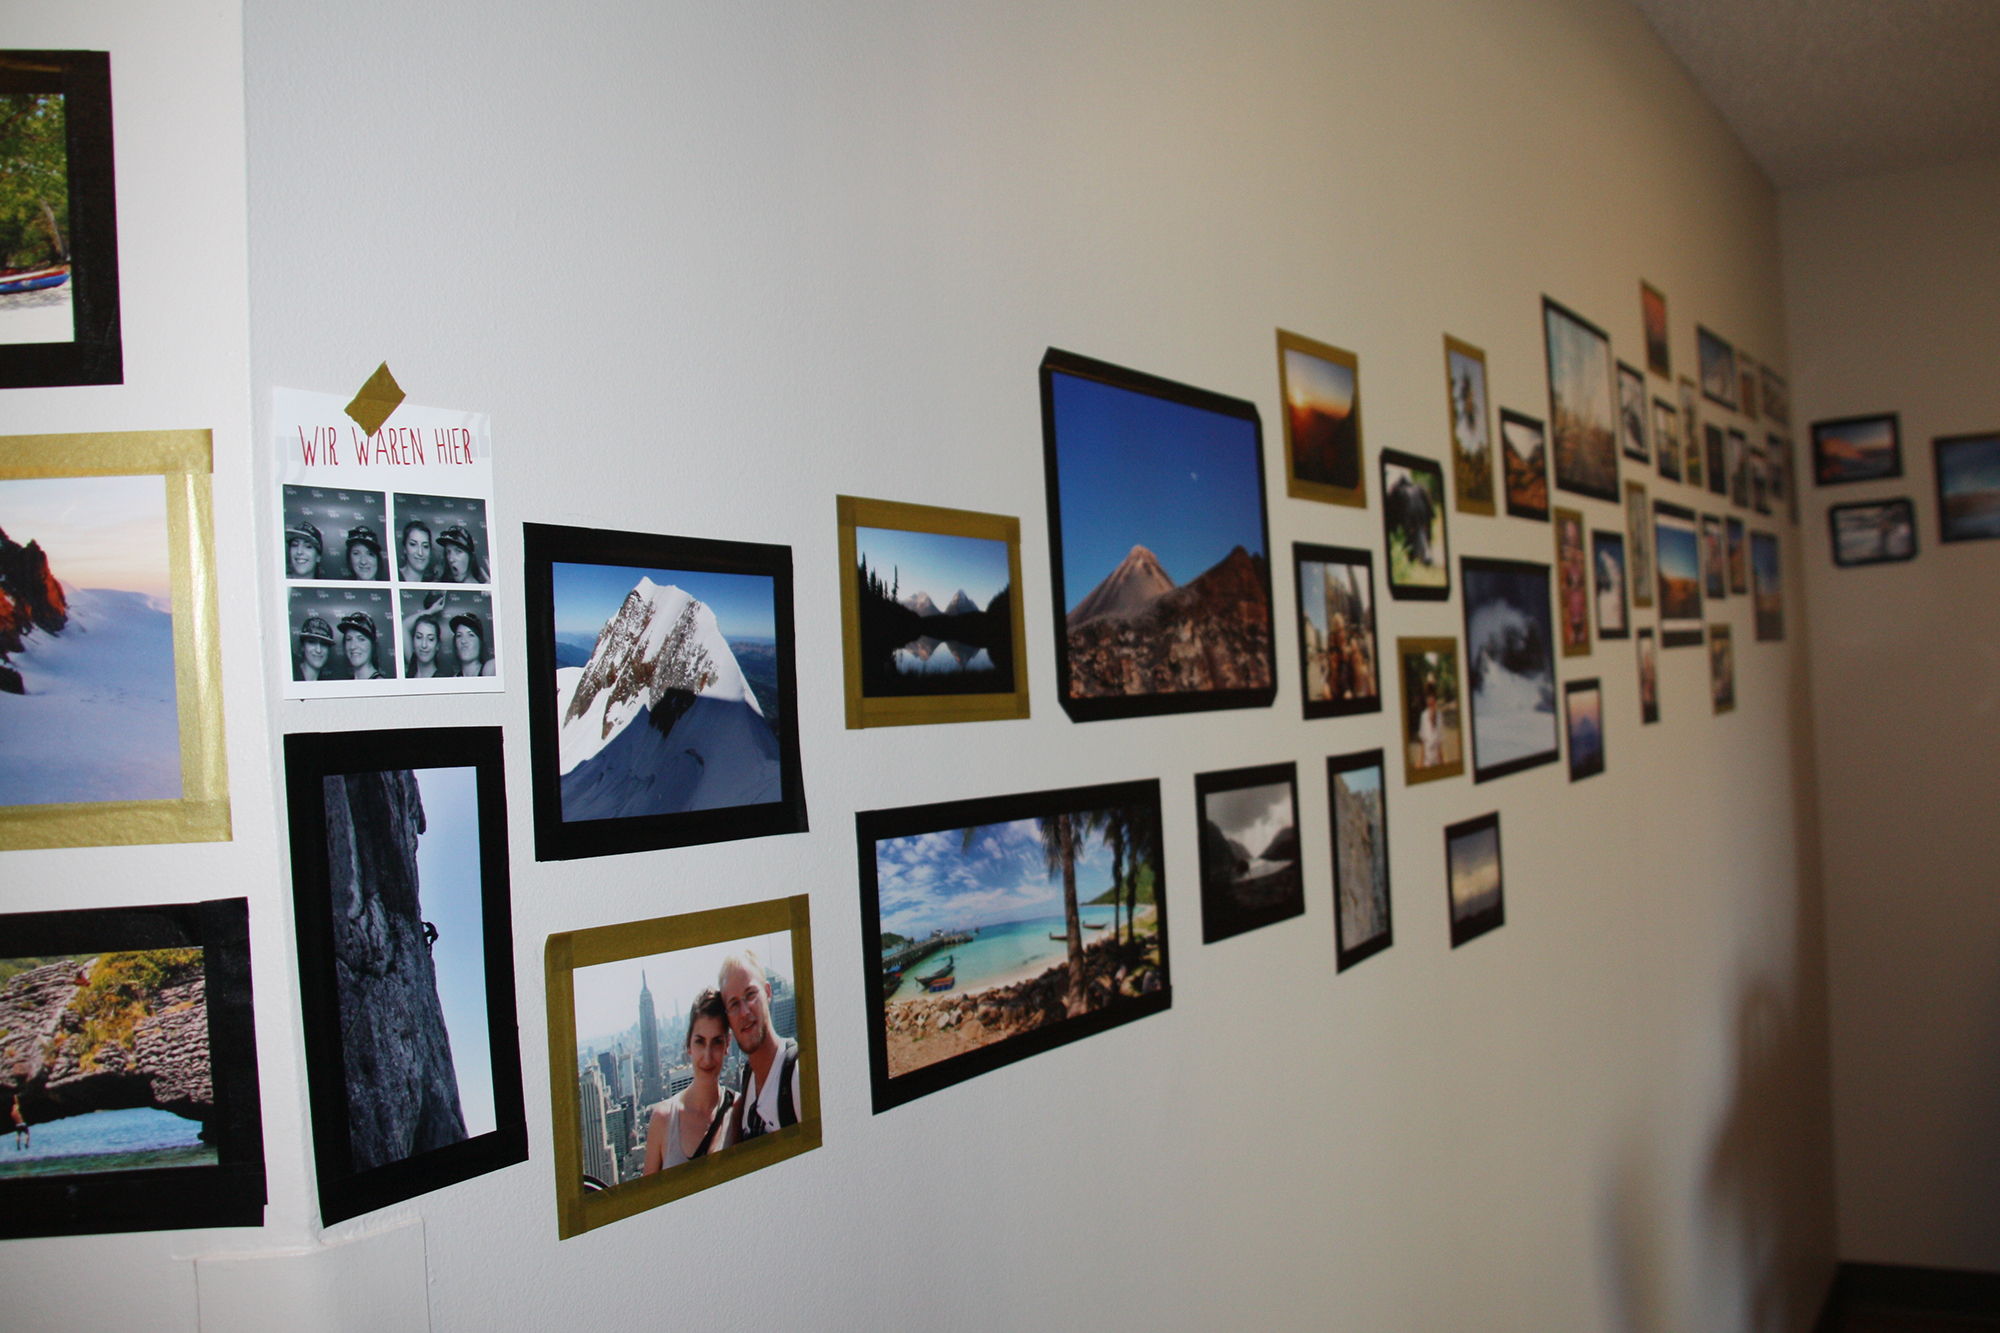
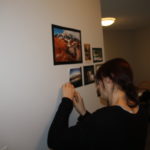
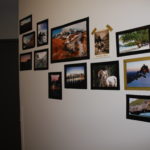
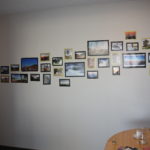
Dann haben wir uns noch dazu entschlossen, dass wir eine Fotogallerie an einer Wand haben wollen. Da wir ganz viele Fotos wollten und nicht so viele Rahmen kaufen wollten, aber dennoch den gerahmten Look haben wollten, haben wir kurzer Hand auch die Bilder mit Tape aufgehängt.
Außerdem haben wir zum „üben“ auch noch eine kleine Wand mit abstrakteren Formen gemacht. Dreiecke in Gold und Schwarz.
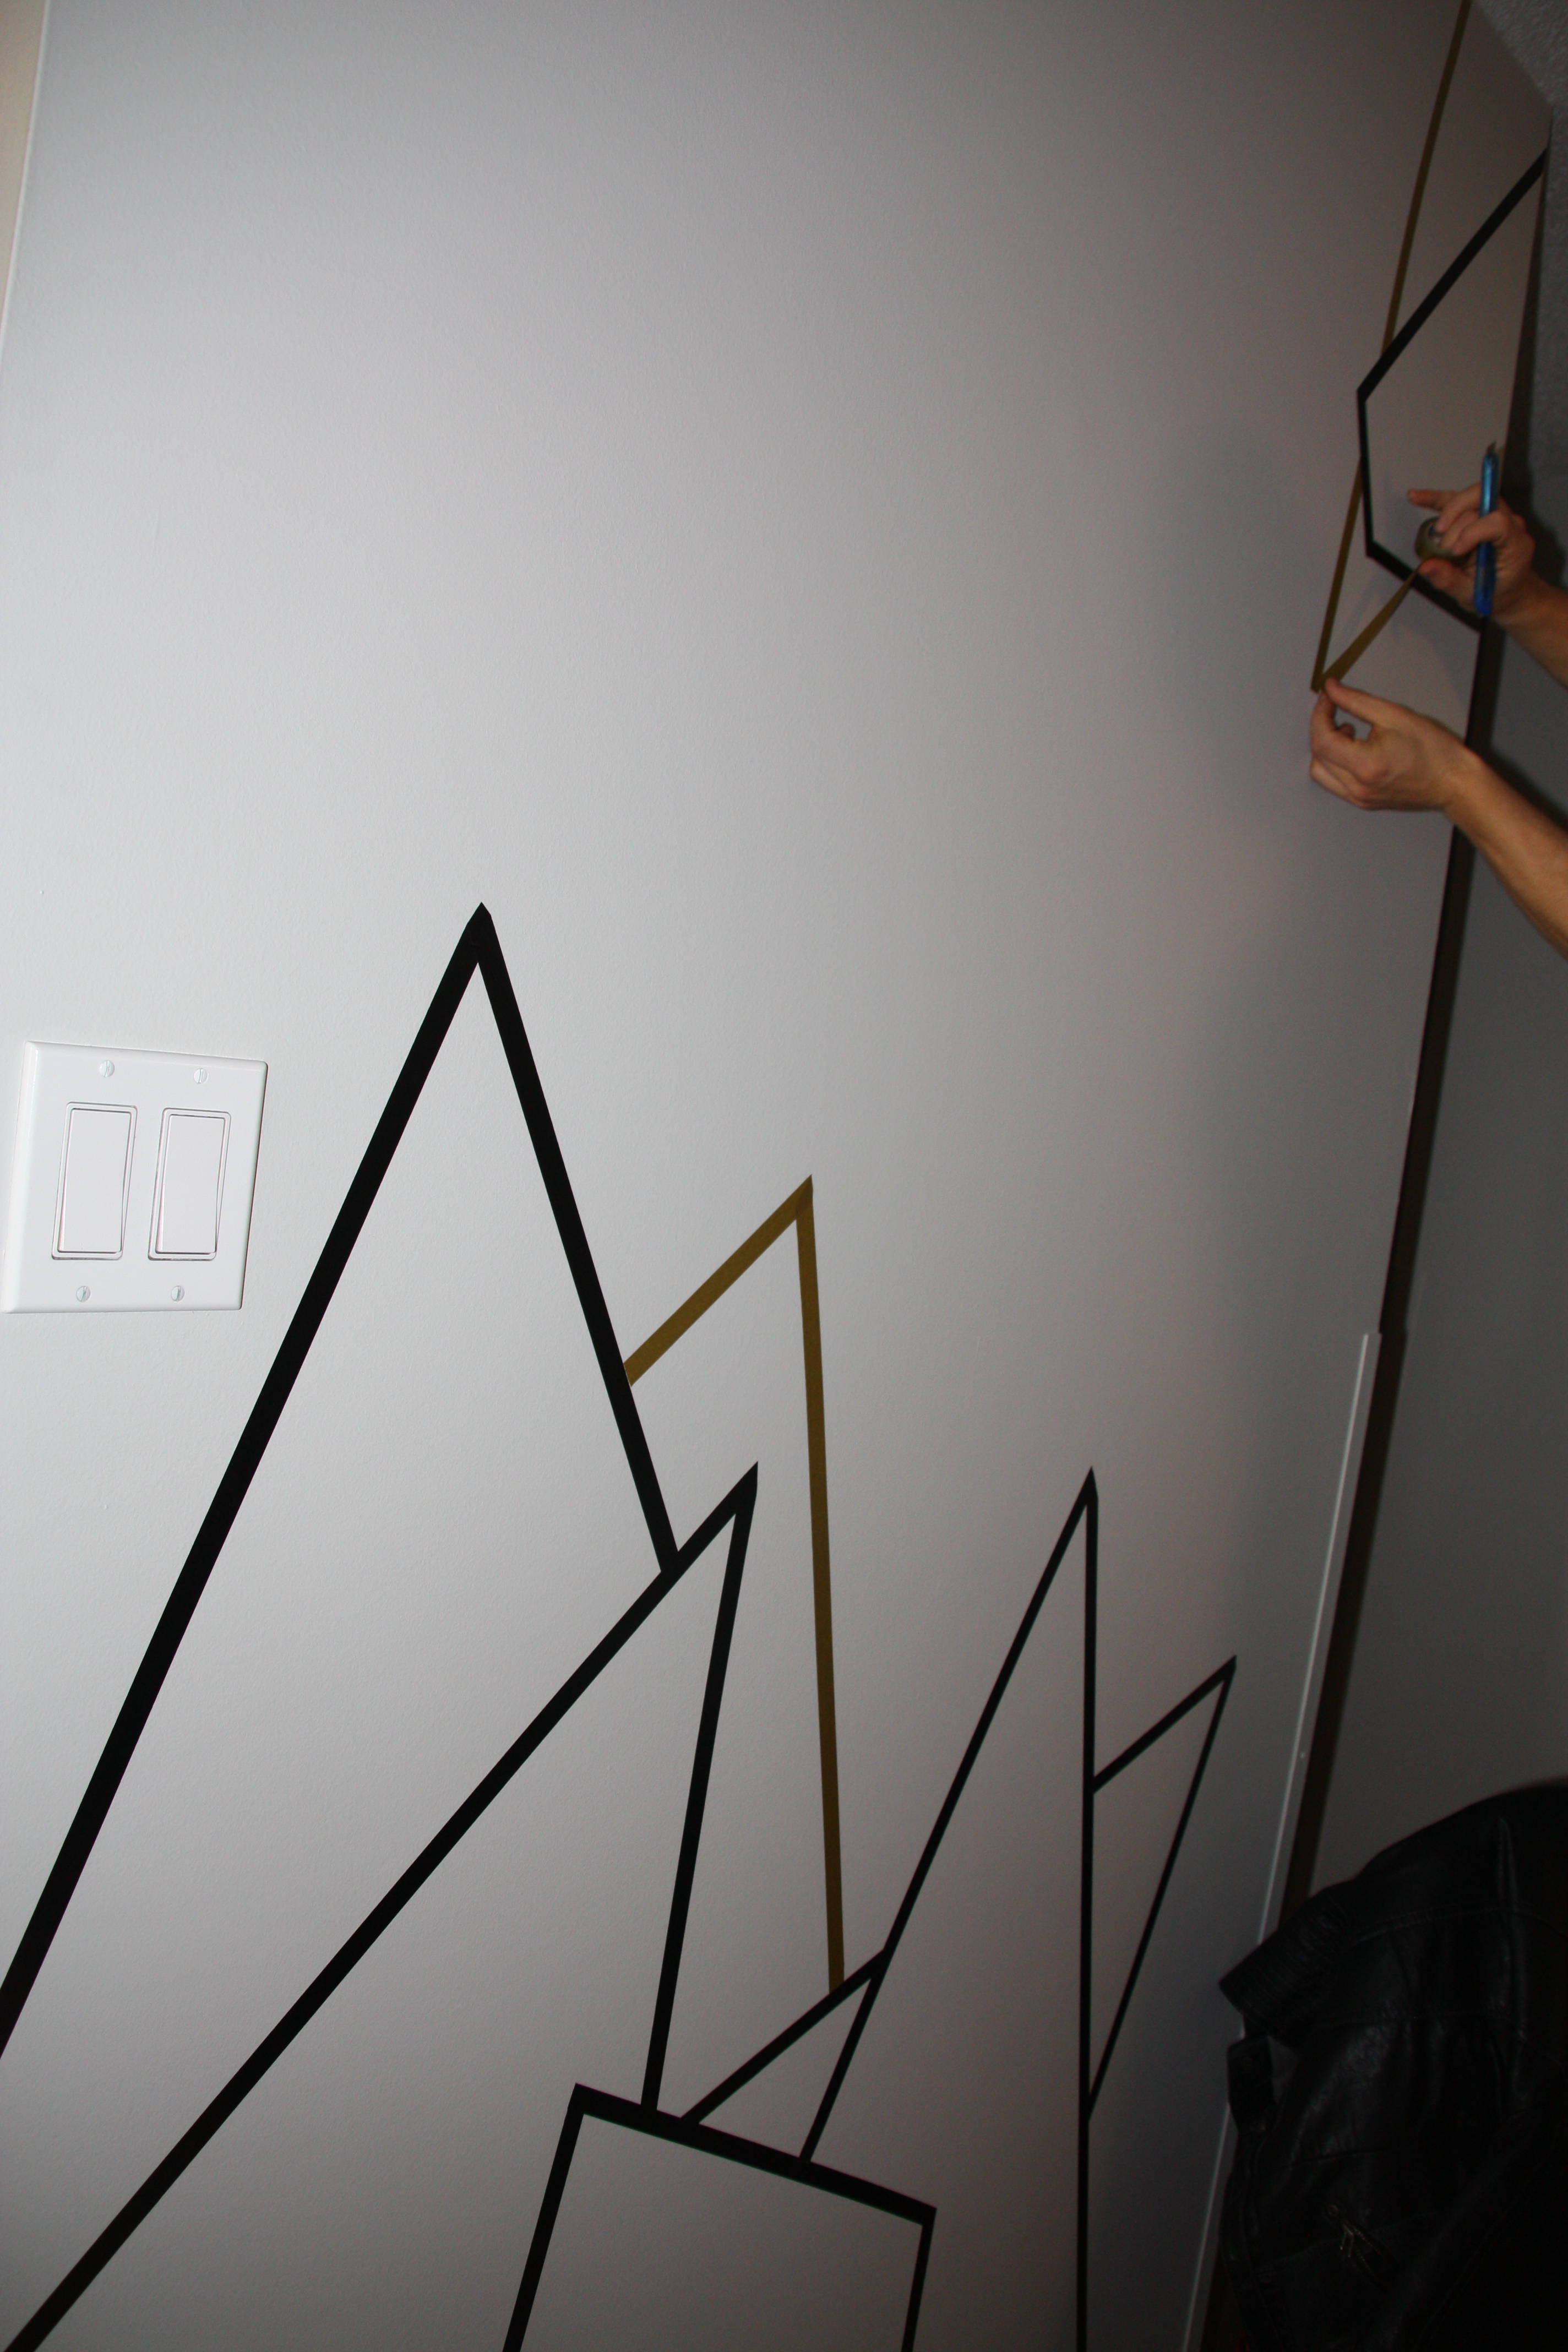
Fangen wir mal damit an. Im Prinzip haben wir uns eine schmale Wand dazu ausgesucht und haben ganz „wild“ Drei- und Vierecke verteilt.
Abstrakte Formen
Du brauchst:
Schwarzes Maskingtape
Goldfarbenes Maskingtape
Cutter oder eine Schere
Anleitung:
Bei abstrakten Formen legst du einfach los, indem du das Tape von der Rolle abrollst und an die Wand anbringst und in der gewünschten Länge abschneidest. Ich habe die Enden immer etwas überlappen lassen, und danach mit dem Cutter so abgeschnitten, dass es genau abschließt.


Bilderrahmen
Du brauchst:
Fotoabzüge (z.B. kannst du dir deine Fotos in einer DM Filiale ausdrucken oder im Internet bestellen z.B. bei Cewe oder Photobox)
Maskingtape
Cutter
doppelseitiges Klebeband
Anleitung:
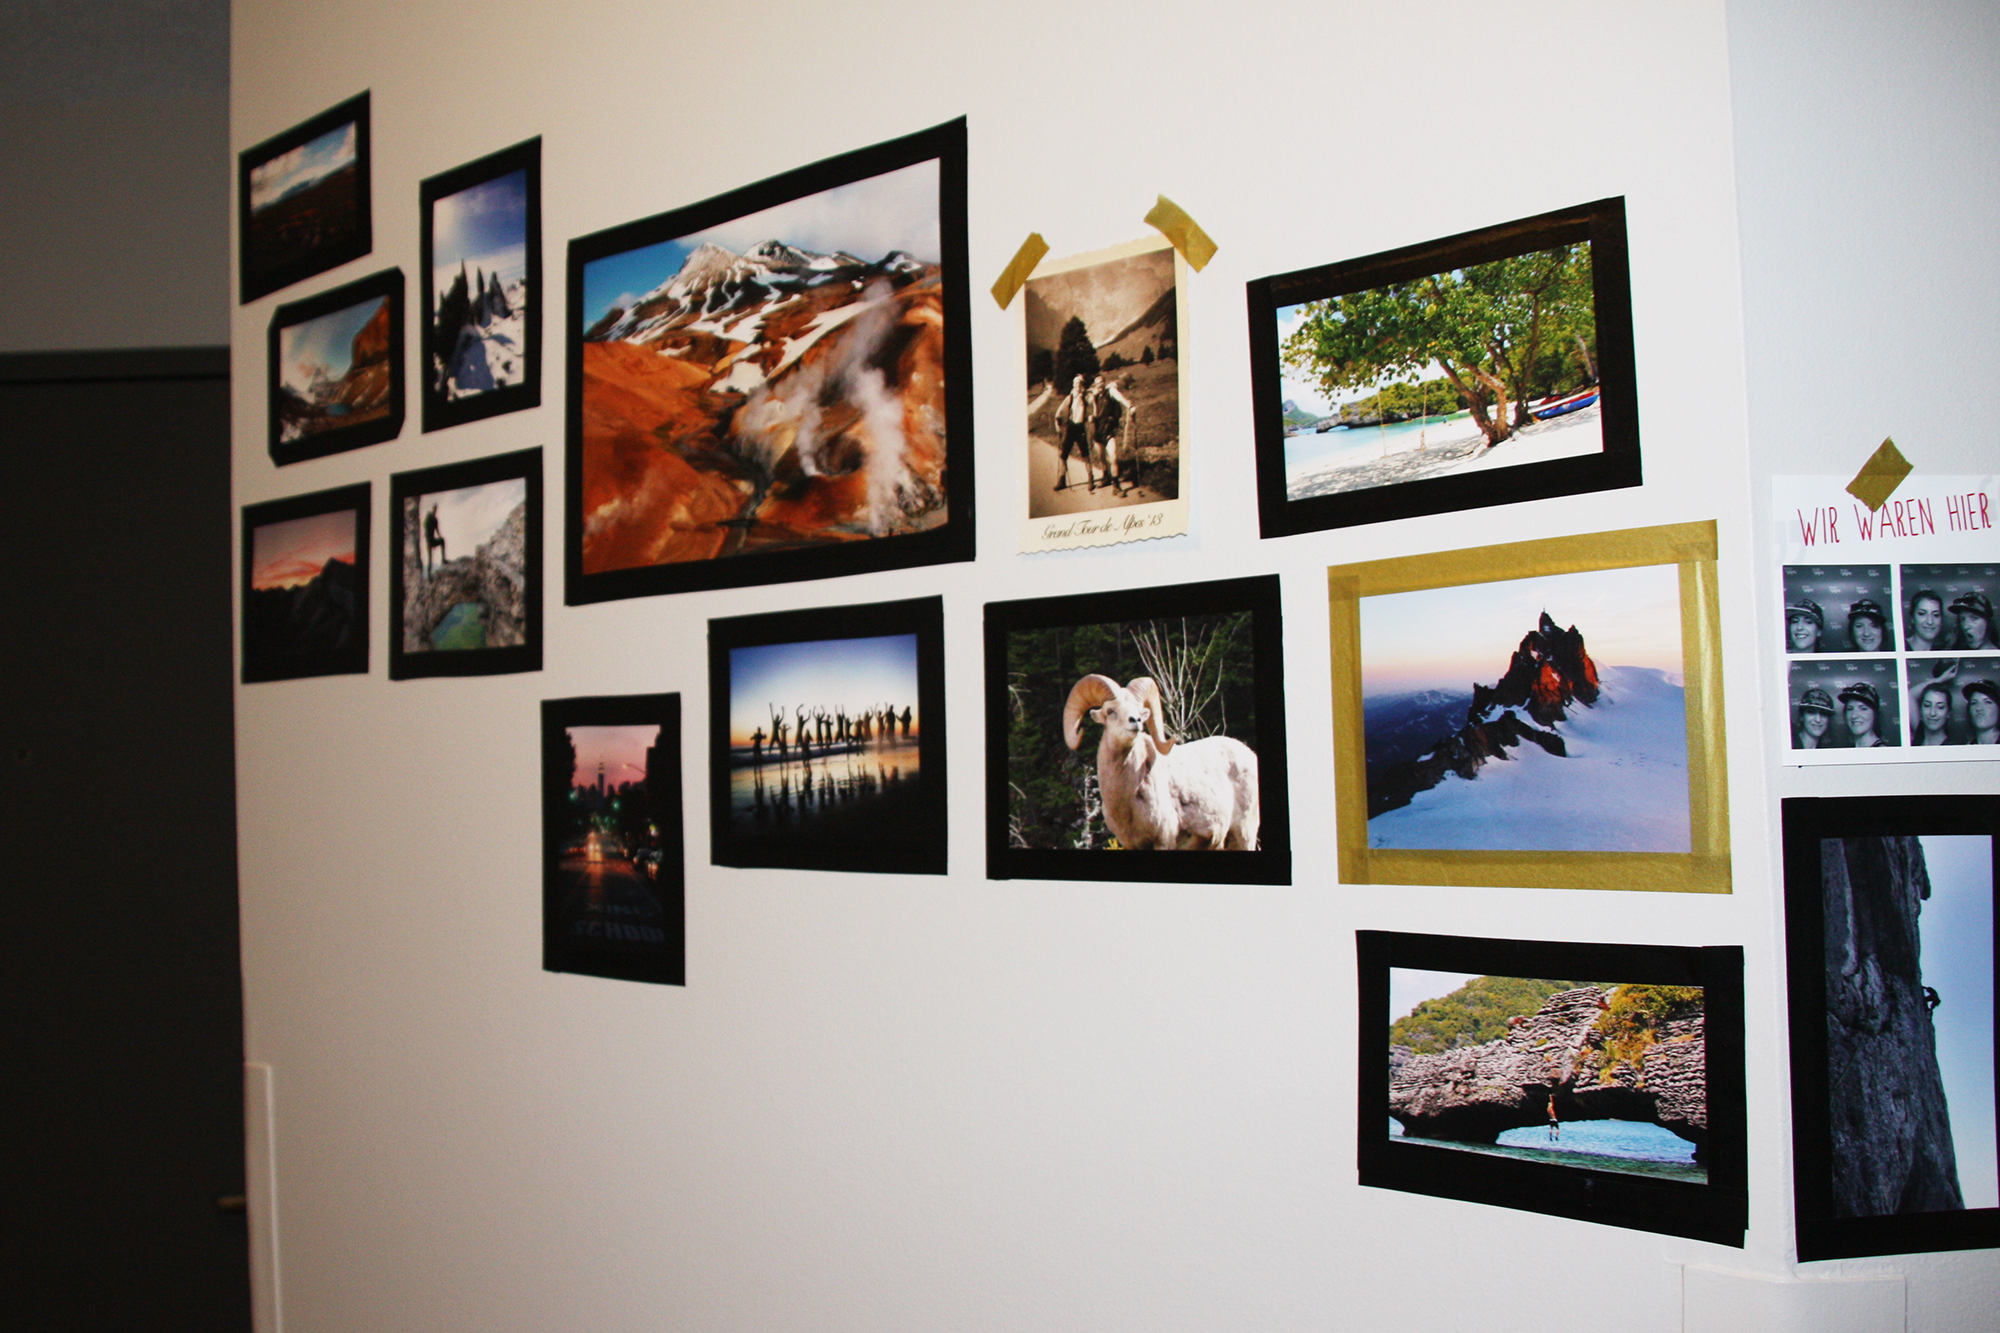
Überlege dir vorher ungefähr wie du die Bilder anordnen willst. Bringe dann doppelseitiges Klebeband (nur kleine Stückchen, das machst du nur, damit du es später einfacher hast das Maskingtape anzubringen) auf der Rückseite des Bildes an und klebe es an die Wand. Bringe dann rundherum, als Rahmen, das Tape an. Du kannst das in unterschiedlichen Farben machen, oder auch die Form des Rahmens variieren, oder einfach alle gleich aussehen lassen, ganz nach deinem Geschmack.
Wir haben goldene und schwarze Rahmen gemacht und ab und zu haben wir die Ecken abgeschnitten.

Bergsilhouette
Du brauchst:
Schwarzes Maskingtape
Goldfarbenes Maskingtape
Cutter
dünnes Papier/ Pauspapier
Bleistift
Lineal
Maßband
Anleitung:
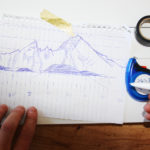
Zu aller erst haben wir uns ein Bild vom Watzmann rausgesucht, auf dem der Blickwinkel zu sehen war, den wir haben wollten und auf dem die Silhouette klar zu erkennen war. Ich habe die Umrisse einfach am Bildschirm abgepaust (dünnes Papier oder Pauspapier funktioniert am besten. Ich habe einfach eine Seite aus einem Collegeblock rausgetrennt), damit ich die exakten Proportionen übertragen kann.
Wir haben die Wand ausgemessen, wo wir das Kunstwerk platzieren wollten. Danach haben dann einfach ein Zentimeter-Raster über das abgepauste Bild gezeichnet und dann schon die proportional vergrößerten Zentimeter-Angaben auf das Blatt geschrieben. Das selbe Raster haben wir auch an der Wand im skalierten Maßstab ausgemessen und mit Tape die wichtigen Punkte markiert. Wenn es kein spezieller Berg ist, müsst ihr das natürlich nicht machen, dann könnt ihr das mit dem Raster natürlich überspringen. Aber eine Skizze von dem gewünschten Motiv macht trotzdem manchmal Sinn.
Dann ging es auch schon zur Sache und wir haben wild losgetaped. Mit dem Zollstock/Maßband bewaffnet haben wir immer wieder von den Markierungen aus gemessen, um die Proportionen genau zu treffen. Es ist wichtig, dass man immer wieder auf der Skizze schaut, wie hoch die Zacken sein müssen. Zuerst haben wir den groben Umriss getaped und dann später haben wir die Details eingebracht und die Dicke des Tapes an einigen Stellen variiert, um ein weicheres Gesamtbild zu erhalten. Zum Schluss haben wir noch ein Gipfelkreuz angebracht, das is natürlich total optional… Aber für mich gehört das einfach dazu!


Viel Spaß mit dem DIY! Wenn ihr eure Wände auch mit Tape verschönert, wäre ich super glücklich wenn ihr mir eure Kunstwerke zeigen würdet!
Liebe Grüße,
Eure kleine Avocado, Lisa
English version:
Wall Art DIY using Washitape
Hey all!
Long time no see. I really have to start posting regularly! I am working on it, I promise!
Finally, after two months of waiting we moved into our new Apartment in Edmonton … But all the waiting was worth it. Just look at that view!
Before we even moved in our apartment, my boyfriend put me in charge of giving the rooms a soul, means I am in charge of the decoration. After spending a lot of hours on Pinterest and many Blogs, I decided we go for something with Washi tape, or also known as masking tape. For all of you, who never heard of it before, you can look it up here. And when you type in „washi wall art“ on Pinterest, you get tons of search results, what you can do with your wall and tape.
So, now with a thousand possibilities we only had to choose the subject, what we wanted to put on our wall. Because my boyfriend is a huge mountain/hiking/climbing fan and I am also converted to one AND we wanted to have a piece of home country in our apartment, we decided to choose a mountain called Watzmann. Looks great, doesn’t it? It is a great mountain, an exhausting mountain. I’ve been to the peak! So here is a quick preview on how it looked in the end:
We also wanted to have a gallery wall with lots of photos, yet we didn’t want to buy picture frames for so many photos. But we wanted to have the look of frames. So we thought, why not hang those photos also with tape?!
Before we started with the more complex stuff we practiced on a smaller wall by creating some abstract shapes with black and golden tape.
Let’s start with the abstract shapes. Basically, we chose a smaller wall and randomly distributed triangles and quadrangles on the wall.
Abstract shapes
You need:
Black washi tape
Golden washi tape
cutter or scissors
Instructions:
I started simply with peeling the tape off the roll and attaching it on the wall. Cut it off with your scissors or cutter in the desired length. I let the ends overlap at first and trimmed them afterwards, so they end evenly.
Pictureframes
You need:
Photos
Washi tape
Cutter
double-sided adhesive tape
Instructions:
Think about how you roughly want to arrange the photos on the wall. Attach the Photos with the double-sided adhesive tape to the wall by using just a small piece of the adhesive tape. (You do this, so you can arrange the pictures first. It’s easier to frame them later with masking tape.) Then frame it with the washi tape in the desired color and shape of the frame, it’s up to you and your desire!
We did black and golden frames and sometimes cut off the corners of the frame for a more interesting shape. Have fun!
Mountain skyline
You need:
Black washi tape
Golden washi tape
Cutter
tracing paper or any other thin paper
pencil
ruler
measuring tape
Instructions:
First we looked for a photo of „Watzmann“ in wich you can see it from the perspective we wanted to have. And also one where the silhouette was clear. I traced the contour on my laptop screen (just use a thin paper, tracing paper would work best and place it on your screen and carefully trace the lines), so that you have the exact proportions.
We measured the wall, where we wanted to place the artwork. Then draw a centimeter (or use inch 😉 ) grid over the traced picture and calculate the proportional scaled measurements and write it down. Use the same grid on your wall, using the scaled measurements and mark a few points of the grid with tape. If you don’t want to do a motif of a particular mountain then you can skip the step with the grid. Sometimes a sketch of the picture is not a bad idea, though.
Then we started with the fun part – taping! Armed with the measuring tape, we measured from the marked grid points and checked the sketch regularly for how high the peaks had to be. We started with the rough contour. Later, we added some details and varied the thickness of tape, to get an overall smoother picture. The final touch was the summit cross, of course it is optional… But for me it’s mandatory!
Have fun with the DIY and if you create something yourself I would be happy if you show me! 🙂
Your little avocado,
Lisa